In this KB article we will be going through the basic file operations in Windows 11, primarily copy, cut, paste, and delete. Luckily, there are several shared steps in finding these tools.
First, open File Explorer by clicking on the manilla envelope on your startbar at the bottom of your screen:

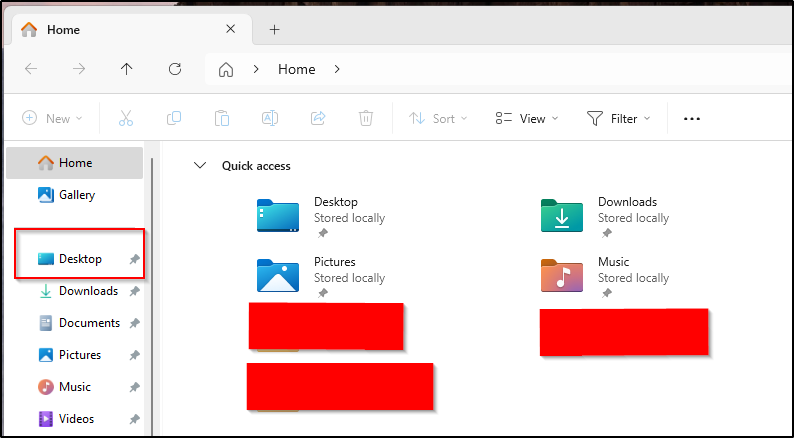
For simplicity, we will be doing the example work on our desktop. In File Explorer, click desktop:
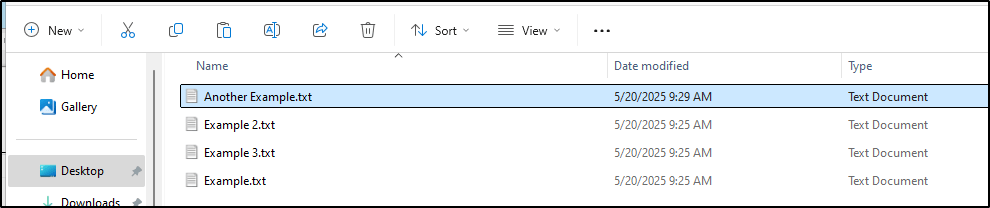
Next, you can see we have a few example files on the desktop that we will be playing around with. We are going to left-click once on the file AnotherExample.txt as seen in the below screenshot.

You will then see the below options become available:

Please note the numbers under the action items above, they are:
#1 – CUT, which will move the item from one place to another
#2 – COPY, which will make a copy of the file somewhere, but will preserve the original.
#3 – RENAME, which will give you the option to rename the file
#4 – DELETE, which will delete the selected file
For either CUT or COPY, you will need to go to the location you would like to either move or copy the file to and use the PASTE option. In this example, we have selected COPY or PASTE and now need to go into the Example Folder as seen below, which is the location we want to move/copy this file to:

Next you can see we have the PASTE option. Select the PASTE icon as seen below:

After selecting PASTE, you can see our file appears!